Your shopping Bag

How to Apply Makeup Like a Pro

Impressed by models with perfect makeup, flawless skin, and intense eyes? With the right techniques and products, you can apply makeup like a pro too.
First: Prepare the Skin Well
Your model's skin must be perfectly clean and gently dried. Apply a light moisturizer to keep skin hydrated. Then, apply a primer to smooth imperfections, blur pores, and create an even, natural skin tone. Before eyeshadow, apply a base to the eyelid to help makeup set and last all day.
Only then can you start working on the complexion.
Use Brushes
Use the right tools to apply foundation, concealer, blush, and eyeshadow. Invest in a set of brushes with different tips and sizes for different uses. You'll get a more precise and natural finish with a brush than with your fingers.
Choose Your Concealer Well and Apply it AFTER Foundation
- Apply Foundation First
Foundation dissolves concealer, not the other way around. So, apply it before concealer. Choose a shade closest to your model's skin tone and apply with a brush or blender. Then apply your concealer and set with loose powder.
Tip: For a nude effect, lighten the foundation by mixing it with a touch of moisturizer for a more natural and lightweight finish.
- What Shade for Your Concealer?
Contrary to popular belief, concealer shouldn't necessarily be lighter than the skin tone, as it may turn gray if your model's dark circles are very pigmented.
Tip: Get as close as possible to your model's skin tone. If the circles are bluish, use a slightly pink concealer. If they tend towards brown, opt for a more peach-toned concealer. The goal is to conceal the circles while giving a uniform finish to the complexion.
Combine the Right Textures
Don't mix too many different materials and textures. Aim for a harmonious and natural result. For example, if you choose a compact powder foundation, use powder textures for blush, eyeshadow, and lipstick.
Conversely, if you choose a liquid foundation, use liquid or glossy products for all the makeup. For liquid, glossy, or creamy textures, lightly dab the areas for a natural look with the appropriate brush. And in any case, avoid a heavy hand: it's better to proceed in stages and add a little product as you go rather than put too much on from the start.
Blend Makeup Products
Whether applying eyeshadow, blush, or bronzer, it's essential to blend each product well for a natural finish. For example, when applying eyeshadow to the eyelid after applying eyeliner, use a suitable brush to blend the eyeshadow in back-and-forth and/or circular motions, depending on the desired effect.
Tip: If you don't know how to combine colors, use kits that offer duos or trios of matching eyeshadows with a double-ended brush. Simply blend the eyeshadows with the brushes to subtly blend them together. You can easily find eyeshadow palettes suitable for creating a smokey eye without difficulty.
Choose the Right Eyeshadow Shades
In principle, you can use a wide range of colors for your eyelids, whatever the color of your model's eyes. However, choose an eyeshadow shade that is a little darker than the iris. For example, if your model has green eyes, you can combine gray, brown, and green, making sure to choose a deep green. Apply the darkest color close to the lash line to emphasize the eyes. Then apply the other eyeshadows and use brushes to blend them and bring out the gradients.
Apply Mascara in a Zig-Zag
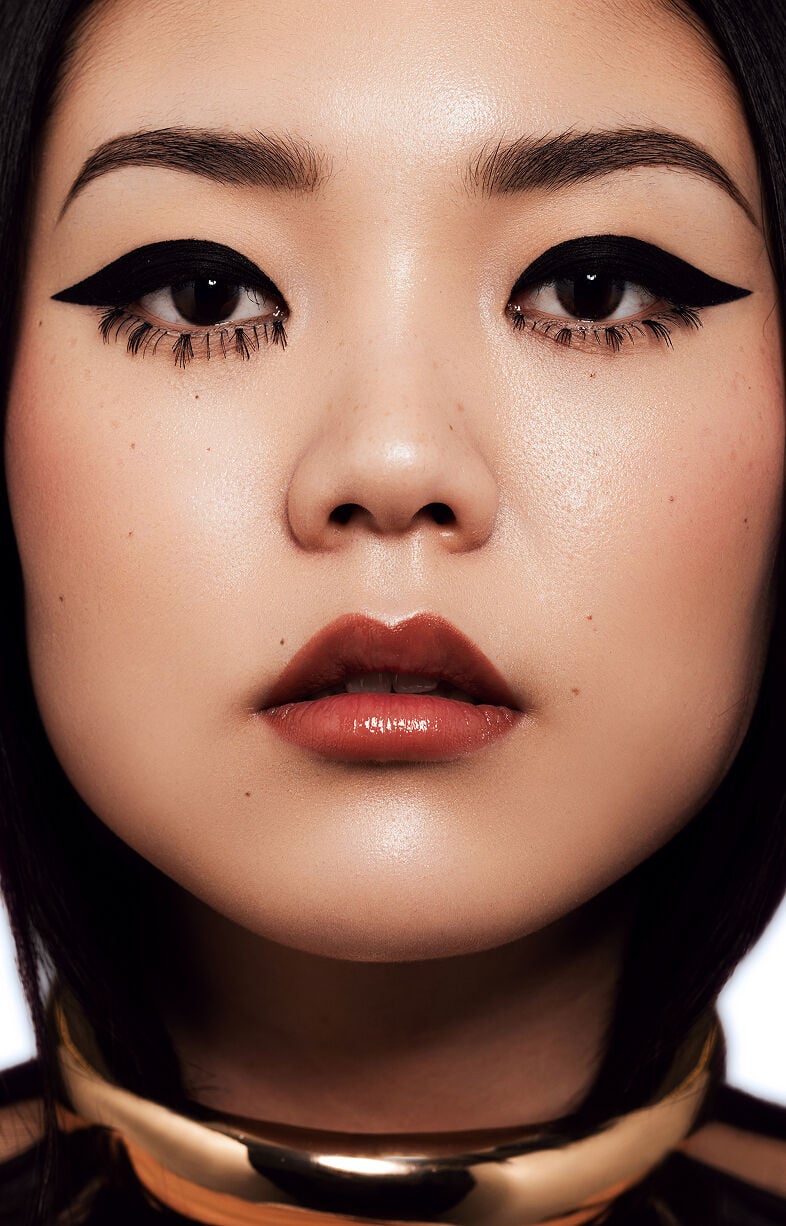
This technique is ideal for enlarging the eyes: simply apply the brush upwards and outwards with successive zig-zag movements. Add an extra coat of mascara to give even more volume and density to the lashes.
Tip: Choose your mascara according to your model's lashes. If they are short and flat, use a mascara that is both lengthening and curling. If they are thin and straight, opt for a volumizing mascara to give them more density and a curling mascara to open up the eyes.
Enhance the Eyebrows
Beautiful eye makeup is nothing without well-groomed and emphasized eyebrows.
To help you make up the eyebrows well, special "eyebrow" kits bring together all the products to apply for impeccably drawn eyebrows in a single case.
Respect the Shape of the Mouth
Contrary to popular belief, you draw the lip contour after applying lipstick, not before. Apply your lipstick preferably with a brush, you can possibly dab lightly with your fingers to penetrate the product well, then use a lip pencil to define the lip line. Choose a universal shade pencil, avoid pencils darker than the color of your lipstick, and above all, respect the shape of your model's mouth. Avoid overflowing for a "plump lips" effect.
Finish with a Touch of Blush
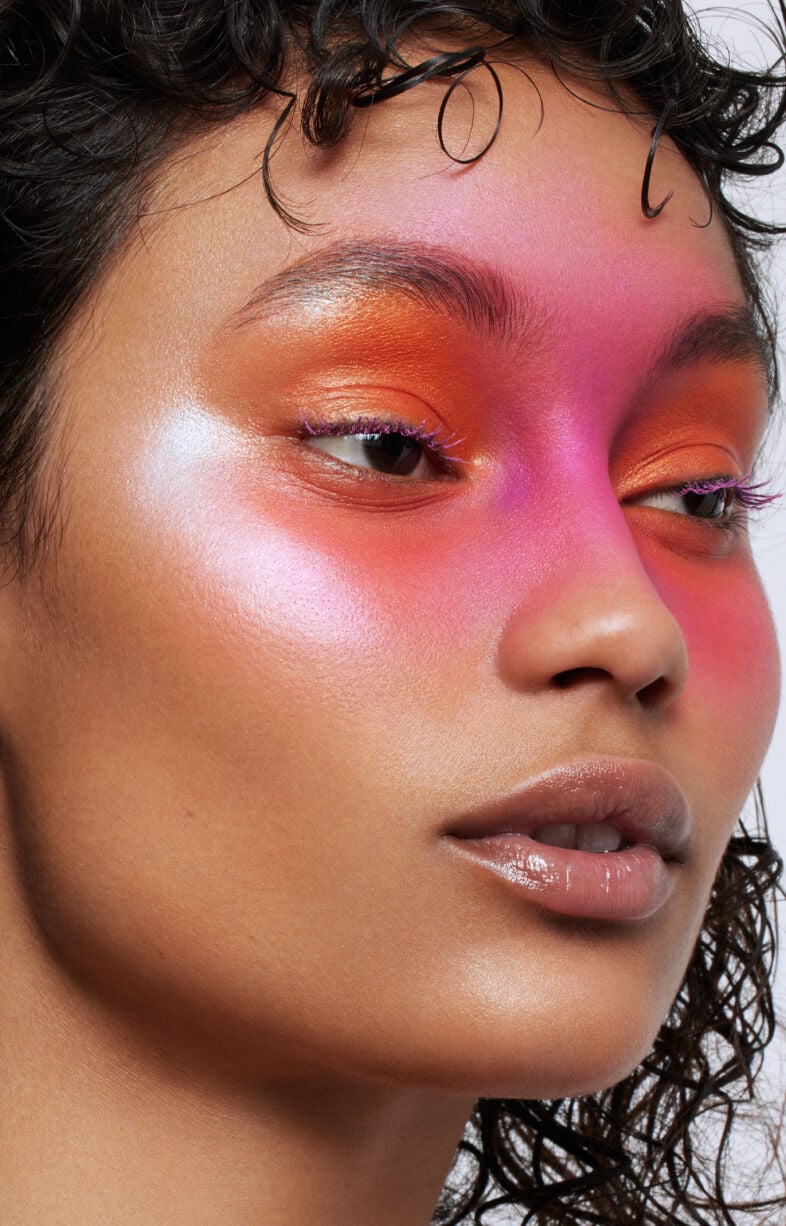
For a fresh and plump complexion all day long, apply a touch of blush to the rounded part of the cheekbones, stretching the blush slightly towards the temples. Ask your model to smile! It will be easier to find the areas of the cheeks to highlight.
If you want to become a professional makeup artist, MAKE UP FOR EVER Academy offers a Professional Makeup Artist training course. By following this training, you will learn all the basics of makeup as well as the most current techniques. This training is recognized by the Ministry of Vocational Training and registered with the Directory of Professional Certifications.


